When I was dreaming up my bathroom I chose black and white bathroom tile so that it would be easy to decorate. Surprise, surprise! It turned out it wasn’t easy, both in terms of installation and coordinating it with other elements.
Black and White Tile Quest
Some time ago I spotted a pretty geometric black and white mosaic that looked timeless. However, the price of forty-eight dollars per square foot was more than I could chew.
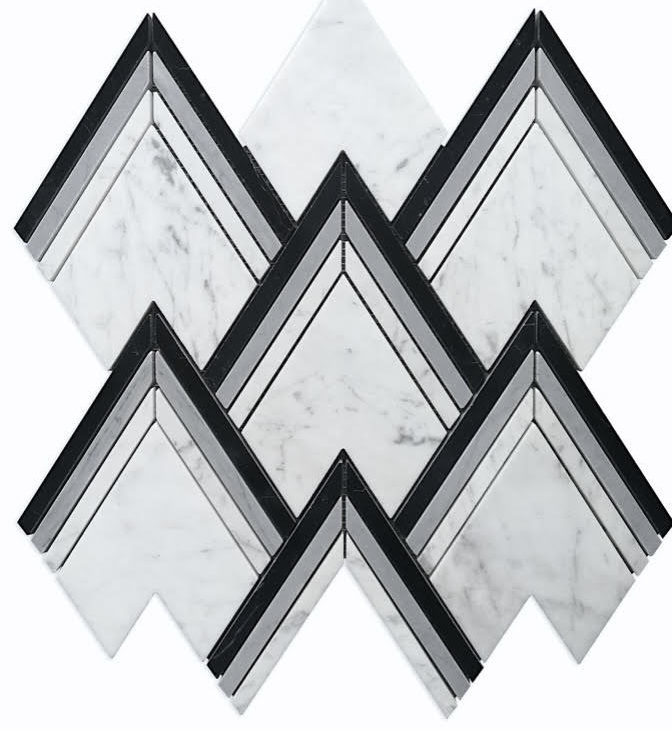
Luckily I came across a copy of the same tile (made in China, of course) at twenty dollars. Even though the original was thicker and more durable but I decided to go with a cheaper one.

The above is the tile that I picked.
Installation
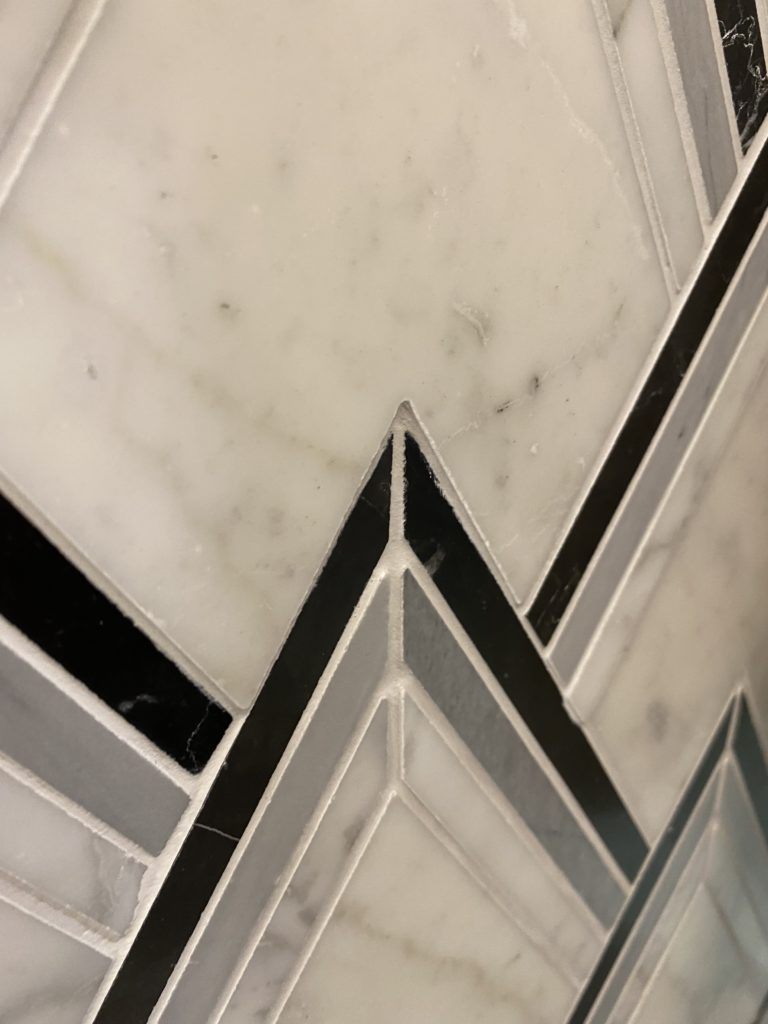
As I said, the tile was not your class A and needed a good installer. The first guy we hired worked very fast. A phone in one hand and the trowel in the other he looked like a guy from Ford’s assembly line. As a result, the tile looked like it had peaks and valleys. It was not completely smooth to touch. Luckily, the wall that he did was for the sink, the vanity, the toilet, and the towel rack so that most of it is covered. We parted with this installer before he started a more visible wall.

Tip: When you notice that the tile installer works too fast and gets distracted check the quality of his job before it is too late.
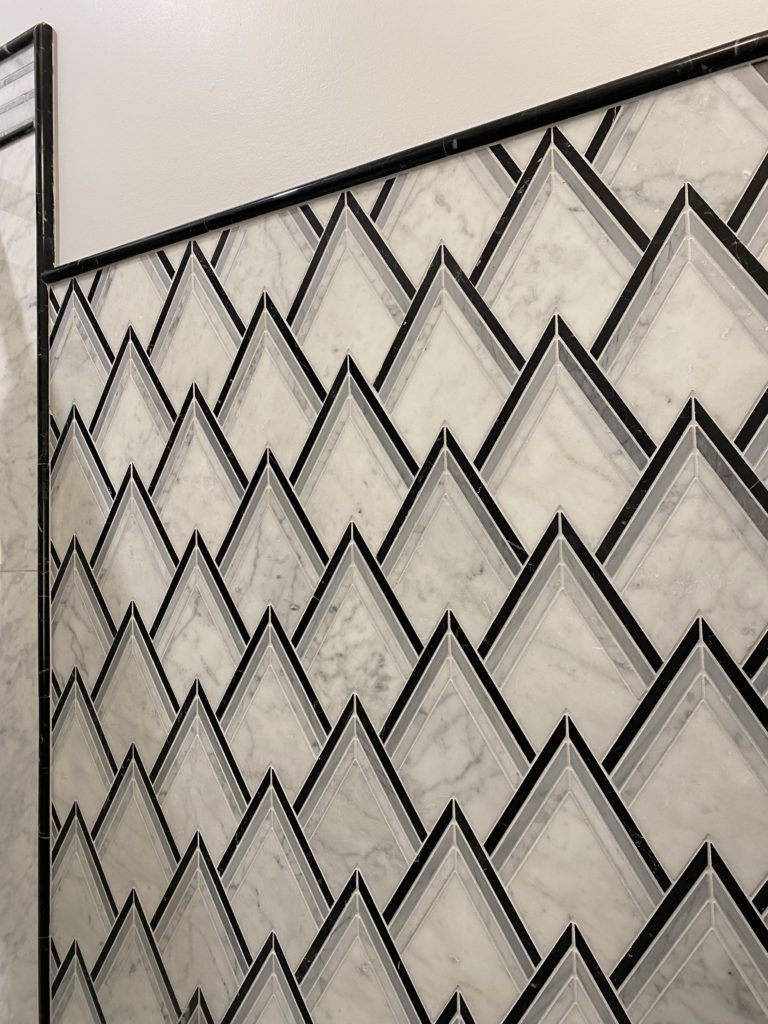
To complete the project we hired an old-school guy with totally different work ethics. Now the process changed dramatically. No more phone, no more blaming it all on the quality of tile. The second guy, let’s call him Jake, took his time and measured everything to a millimeter. He took his job with black and white bathroom marble mosaic seriously as if he was Michelangelo carving David. Is it a good thing? Yes and no. It literally took him the whole day to cover a few square feet of the wall. Finally, he was done! The quality of the installation was perfect. The installation looked as smooth as wallpaper!

Shower Area Walls Installation
The bathroom is only six feet by eight feet including the shower area. If I were to continue with the same black and white mosaic tile it would look very busy to my eye. So I picked large format (12″x24″) Carrara techno marble, durable porcelain that looks like marble. Honestly, you can’t tell the difference in terms of color and texture. Thankfully, it is easy to install and cutting is a piece of cake compared to marble mosaic.
Tip: For shower area it is safer, easier and quicker to use porelain or ceramic tile rather than marble mosaic.
Black Pencils to Outline and Underline
To transition from the mosaic walls to large size tile in the shower area I chose a black narrow marble pencil. I used half an inch pencil in certain areas and three quarters on the top. The black pencil not only separated the two areas but also created a visual focus.
Tip: Thin black and white tile pencils create a more interesting look. You can choose 3/4 inch or 1/2 inch pencil. They range from $5-$12 each.
The Floor
To be true to the geometric motif of the walls mosaic in the shape of the peaks I used a circular mosaic on the floor. That was risky, I know. I was running the risk of clashing the elements making the look too busy. But I needed a small pattern on the floor to avoid slipping. The circular small mosaic was a good choice for that.
However, because there was no black within the floor tile pattern, the light gray and darker gray marble did not look overpowering. The border of the floor was repeated on the top of the shower to tie it all together for the visual flow.
I can’t wait to show you the final result of my black and white bathroom project! The lighting and final touches are in the works now. So, stay tuned for my black and white bathroom pictures.
My best,


Leave a Reply