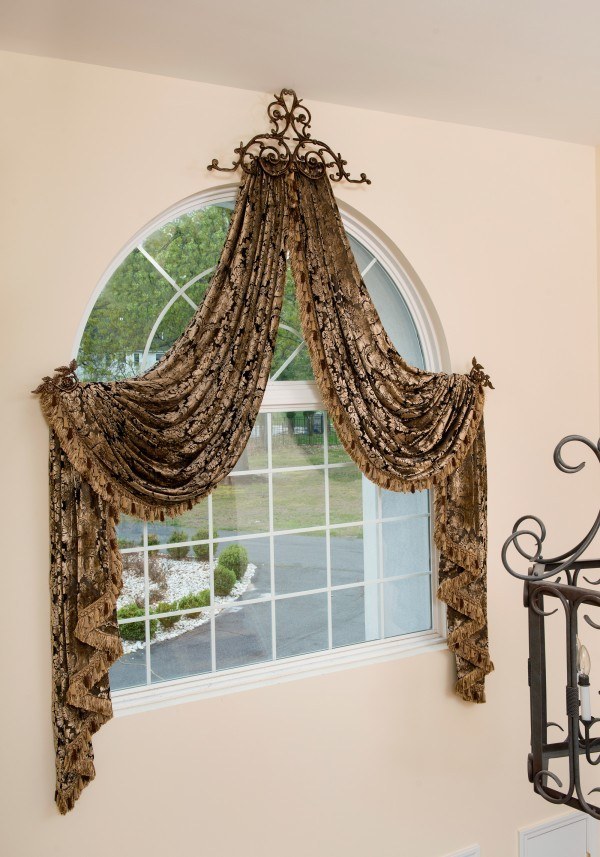
When we see beautiful curtains for arched windows we assume that it costs a lot and just wait till we get rich, right? Contrary to a general belief, drapes for arched windows do not have to cost as much as you think. For example, the image above shows a pair of swags and a pair of jabot. If you learn how to make them with ready-made patterns, you can do it yourself.
Design Features and Sources:
- A reasonable amount of fabric that doesn’t have to be expensive since it is high up there.
- It is comparatively easy to accomplish if you know how to make swags and jabot.
- The hardware is $150-$200 for the crown. You can buy it here.
- This arched window drape will not block the view or outside natural light
Here is your step-by-step guide:
Because so many people already asked me about the design in the image above, I documented the steps that I hope will help you:
Step1: Measure the Window.
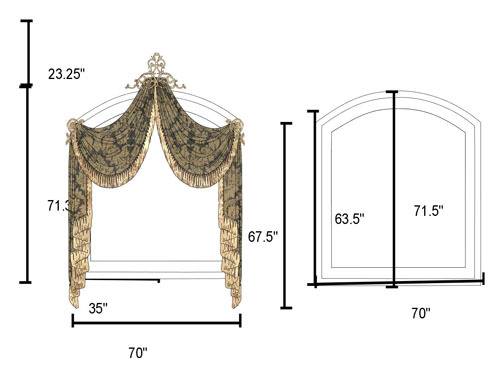
You need all the measurements as shown in the picture above.
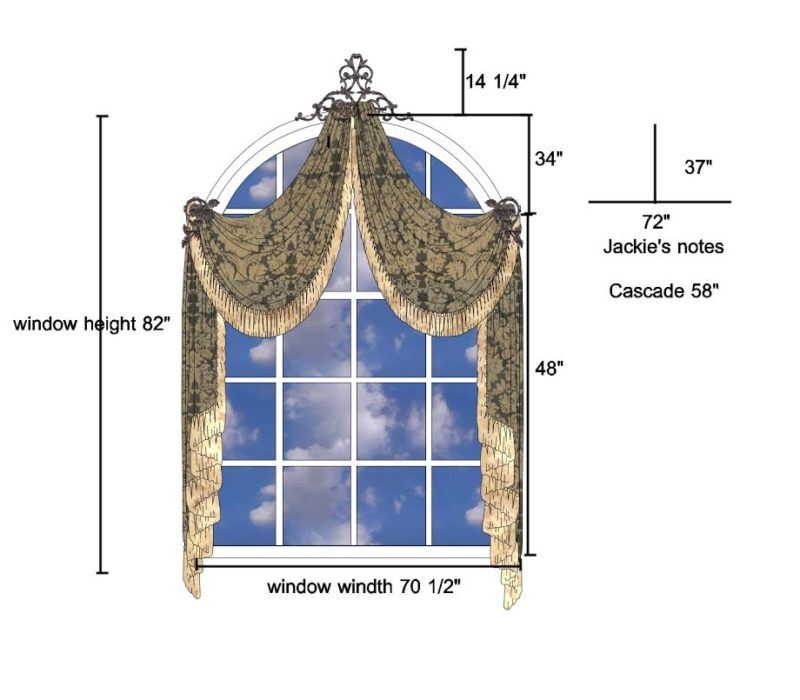
Here is another diagram for a different job and a different window:
Step 2: Select Fabric and Trim
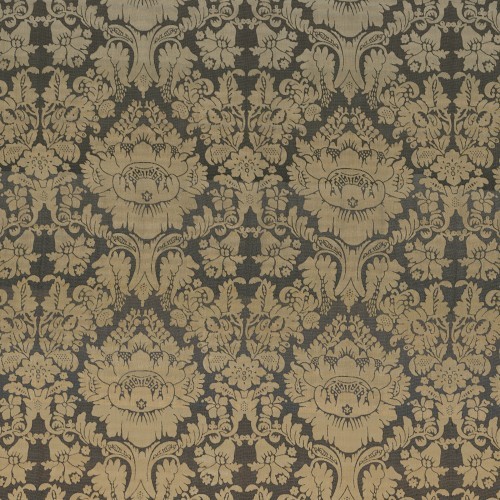
You can use a patterned fabric or a solid one.
Things to Avoid when Selecting Fabric:
For this particular design stay away from stripes, heavy fabric that doesn’t fold easily, and busy floral patterns.
Step 3: Make Arched Windows Curtains
The window treatment consists of four joined together parts: Two swags and two jabot.
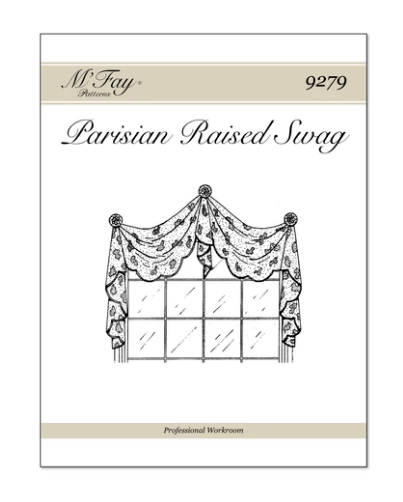
I found a good source for a pattern for you that workrooms use.
Even though the above pattern is not exact, but I’m sure M’Fay Patterns is a good source for you for swags and jabot.
Step 4: Mounting Draperies on Boards

Because you physically can’t mount the curtains for arched windows all the way up the ladder both swags and jabot are mounted on boards before they go up.

Step 4: Decorative Crown for Arched Curtains
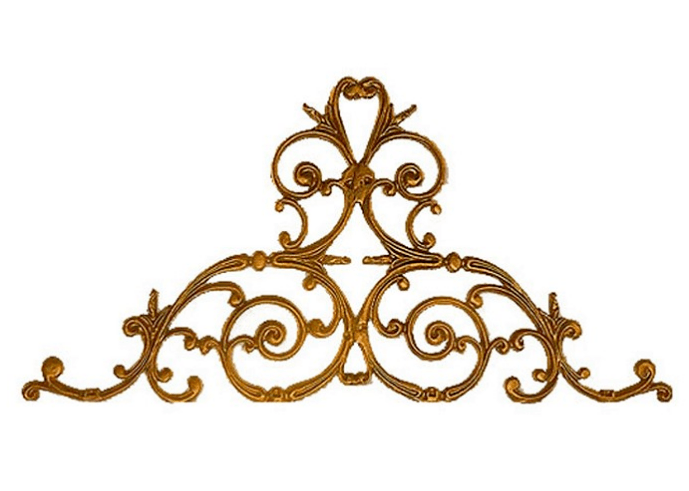

Crowning the window treatment: Have brackets welded to the crown as shown below. I bought a piece of aluminum at Home Depot for $4.00 and had it made by a welder $20.
Step 6: Attach the Crown to the Top Board
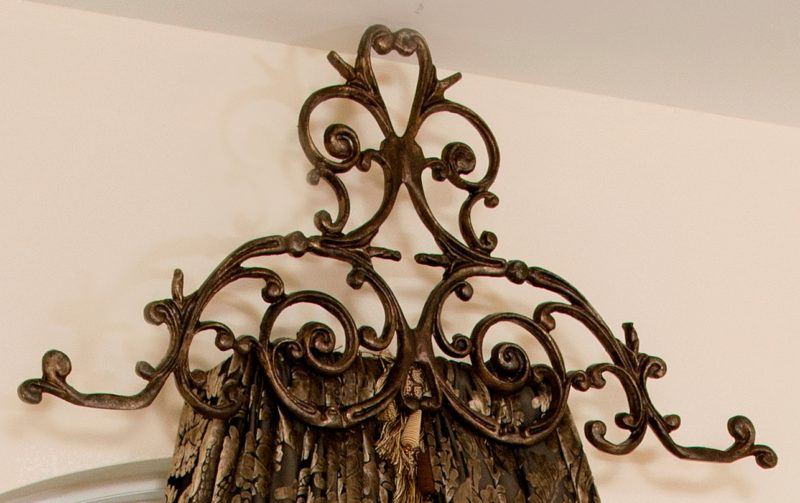
Screw the crown to the top board of the window treatment. The window treatments are installed to the wall on regular L brackets.
Step 7: Adjust the Sides of the Drapes
Make sure that the sides are all visually equal. Manipulate folds slightly by hand to give them the desired look.
An Example of Similar Drapes for Arched Windows from My Portfolio:
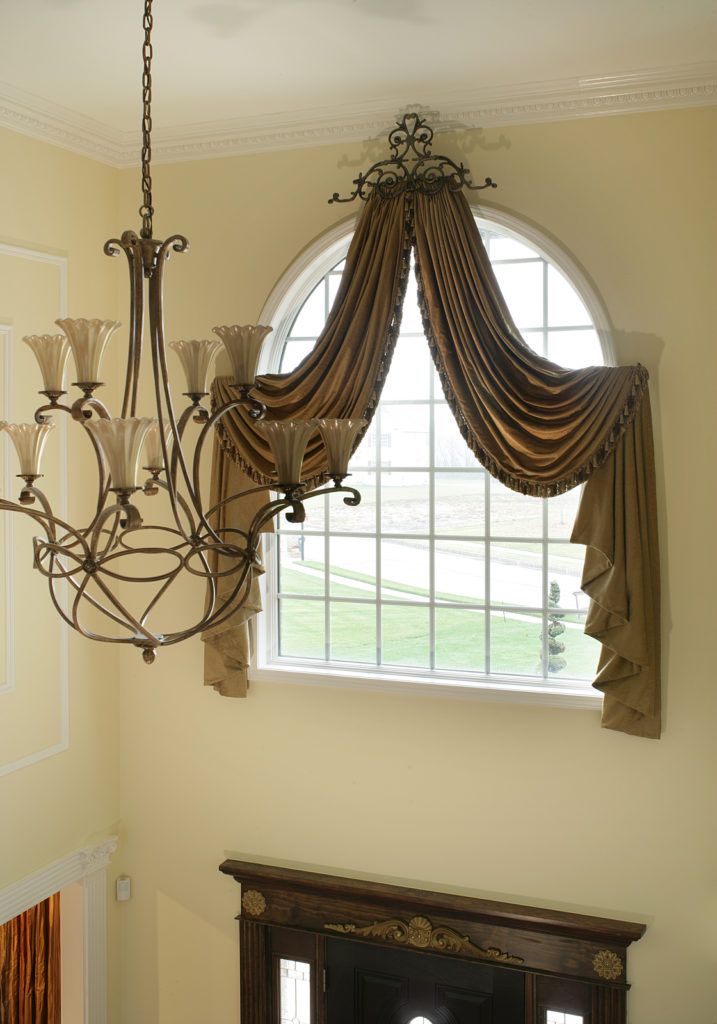
The above window treatment doesn’t have as much trim but yet it still looks great.
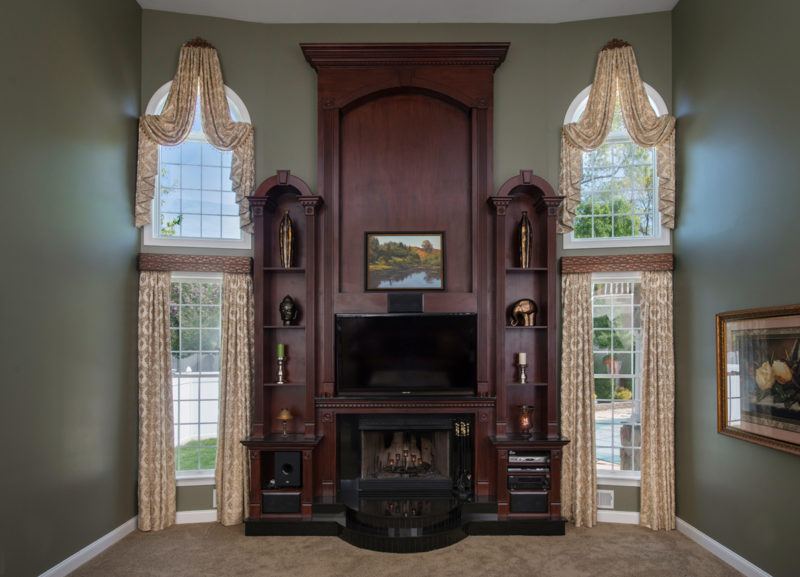

Because the rooms’ layout didn’t allow for a large crown I used a different, smaller crown for the above windows treatments.
That’s it for today.
I hope this post will help you to create your own curtains for arched windows. Finally, please post your photos here when you put them up! I’d be so thrilled to see them! needless to say, if you have questions please post them in the comments and I’ll answer right away.

